Chasing Northern Lights in Tromsø
Chasing Northern Lights (Aurora Borealis) was one of the main goals of our trip to Norway. Tromsø is famous for being one of the best places in the world to see the Northern Lights. Find below our tips on how to make the best out of it.
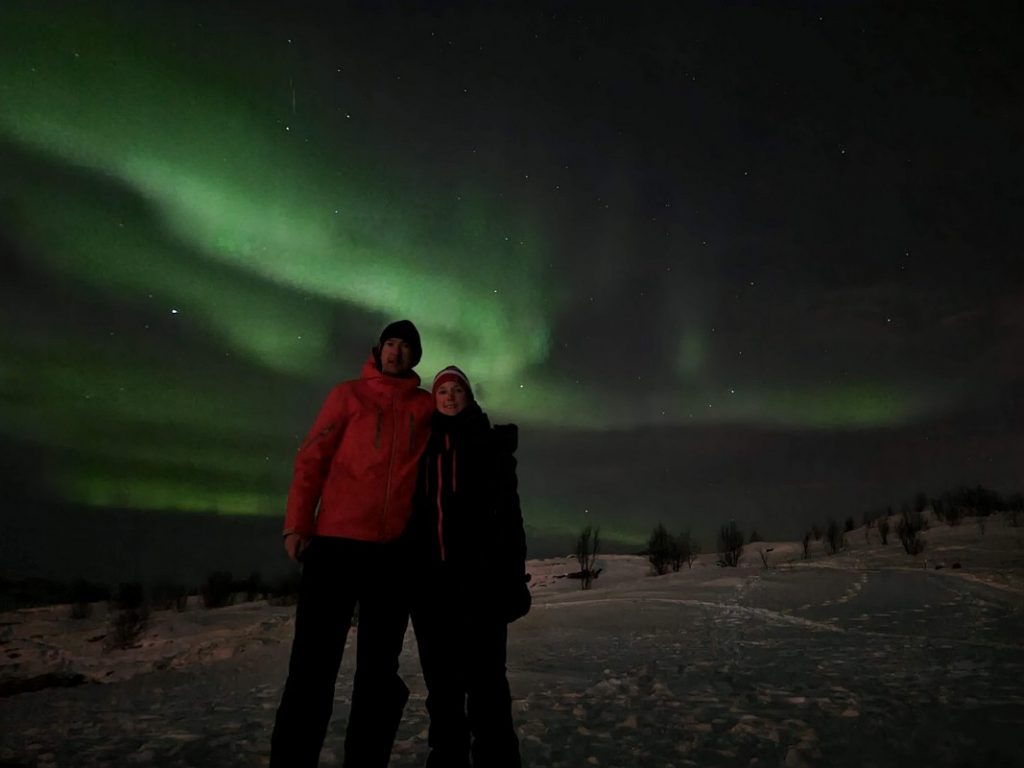
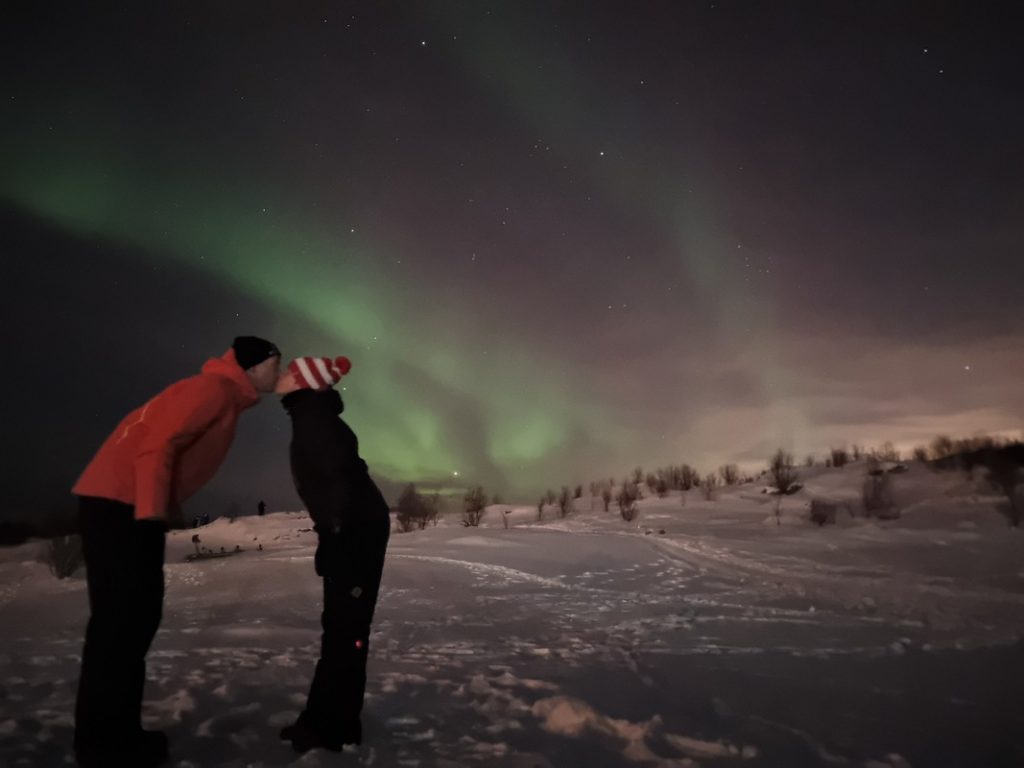
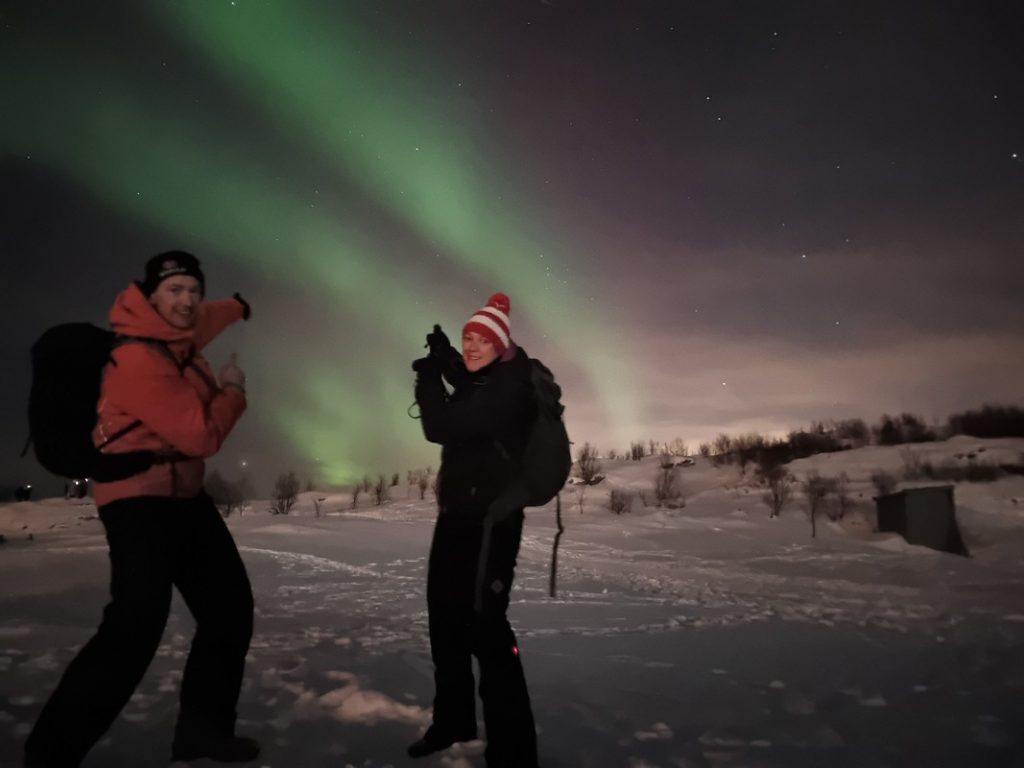
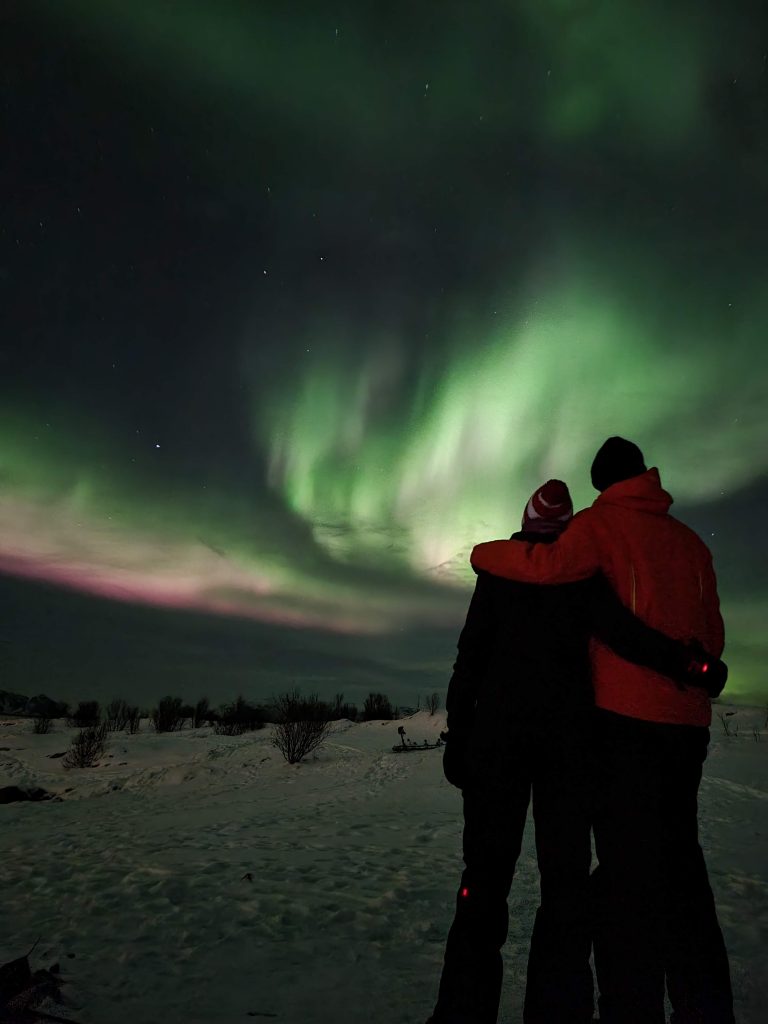
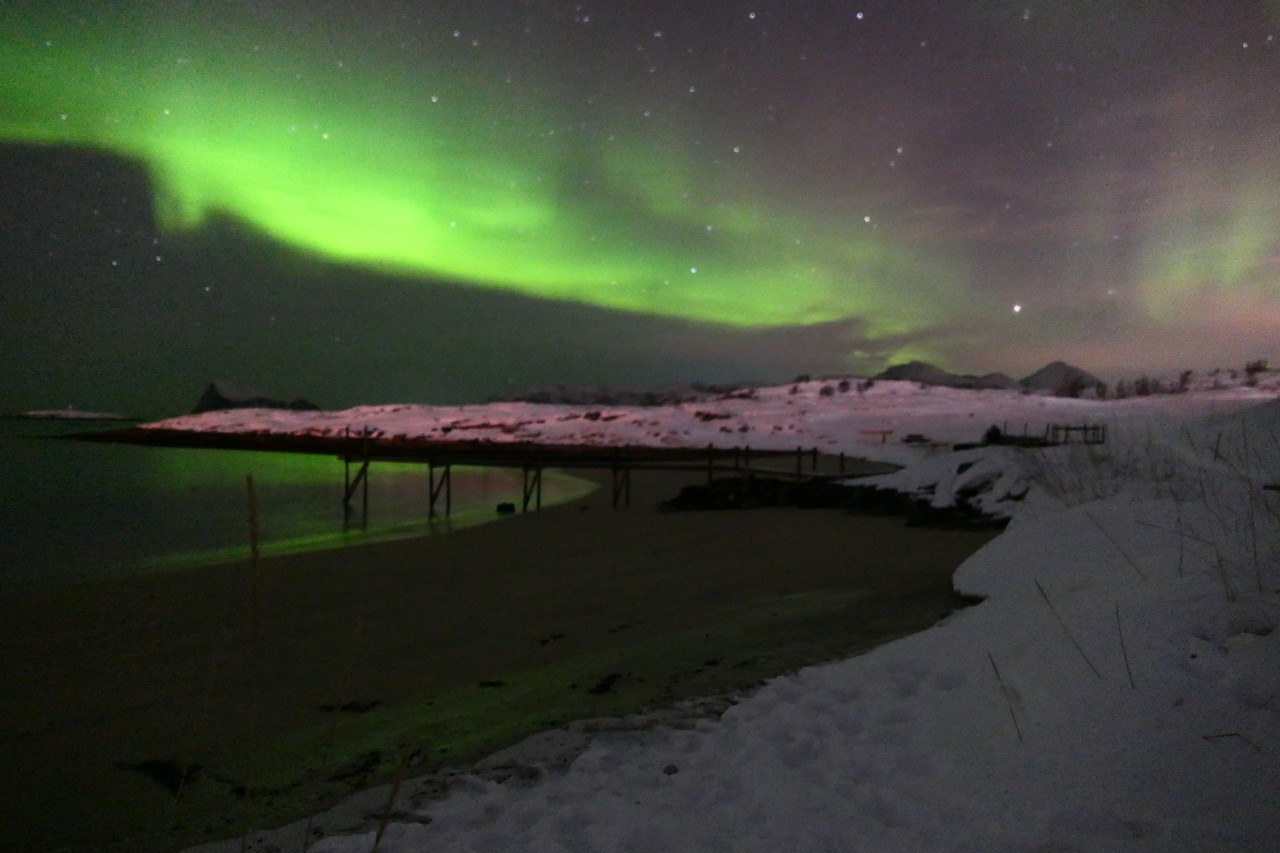
What I already can share is that we were blessed with a sky full of dancing Northern Lights with different colors. Our guide said it was in his top 2 of best Northern Lights ever. At some point we saw him running away to go enjoy it himself alone. We will always cherisch this experience!
Selecting your organisation
To be honest we underestimated a bit the selection of our organisation to help to find the Northern Light. Somewhere we thought we would be able to see it just outside the city, like we did in Iceland. We also hoped we would see the Northern Lights during our Camp Tamok visit. In the region of Camp Tamok there were too much clouds to see any Northern Lights. While checking the weather we decided to do an all or nothing for Sunday as the forecast was the best.
Seems quite some other people had the same idea and plenty of trips were fully booked. You have boat trips (149€), private trips (250 €), small mini-bus trips (172€) and big bus trips (125 €). We were a bit shocked about the prices for such a trip. The ones mentioned above are average prices and there was also a big difference about the amenities. Some had only hot drinks and some offered a local meal.
We were a bit afraid about the big bus trips as we thought it might have been too crowded. As in the end we didn’t had much choice, we selected Northern Shots Tours. For the price of just above 100 euro we had a great experience! We got on the bus at 18:00 for an hour and a half drive to Sommarøy. We were dropped at a beach and as the people spreaded, we were easily able to find our own spot to enjoy the Northern Lights. So we were happy to have selected a budget option.
Taking pictures
During our bus trip to Sommarøy the guide, a professional photographer, gave some tips to take pictures. He discussed iPhone, Android and SLR cameras. With a recent mobile phone (Samsung S21) you can either go for the PRO with customized settings or for the Night setting which will automatically select the settings. The guide gave an explanation about the different settings and advised to play a bit with them. I took pictures with the following settings in Pro mode
- ISO: 3200
- Speed: 4 (seconds)
- Focus: Handmatig
- WB: 4400K
When we saw Northern Lights during our 2015 Iceland visit we struggled to take pictures. So when I started with the pro mode and had nice pictures I didn’t change the settings anymore. Although the guide advised us to play a bit around. Towards the end of our visit I decided to try the Night modus and then I saw they were way better. I conclude that the ISO 3200 setting was a bit too high. While absorbing too much light the background was grey. With the night modus the background was darker and hence the pictures look better.
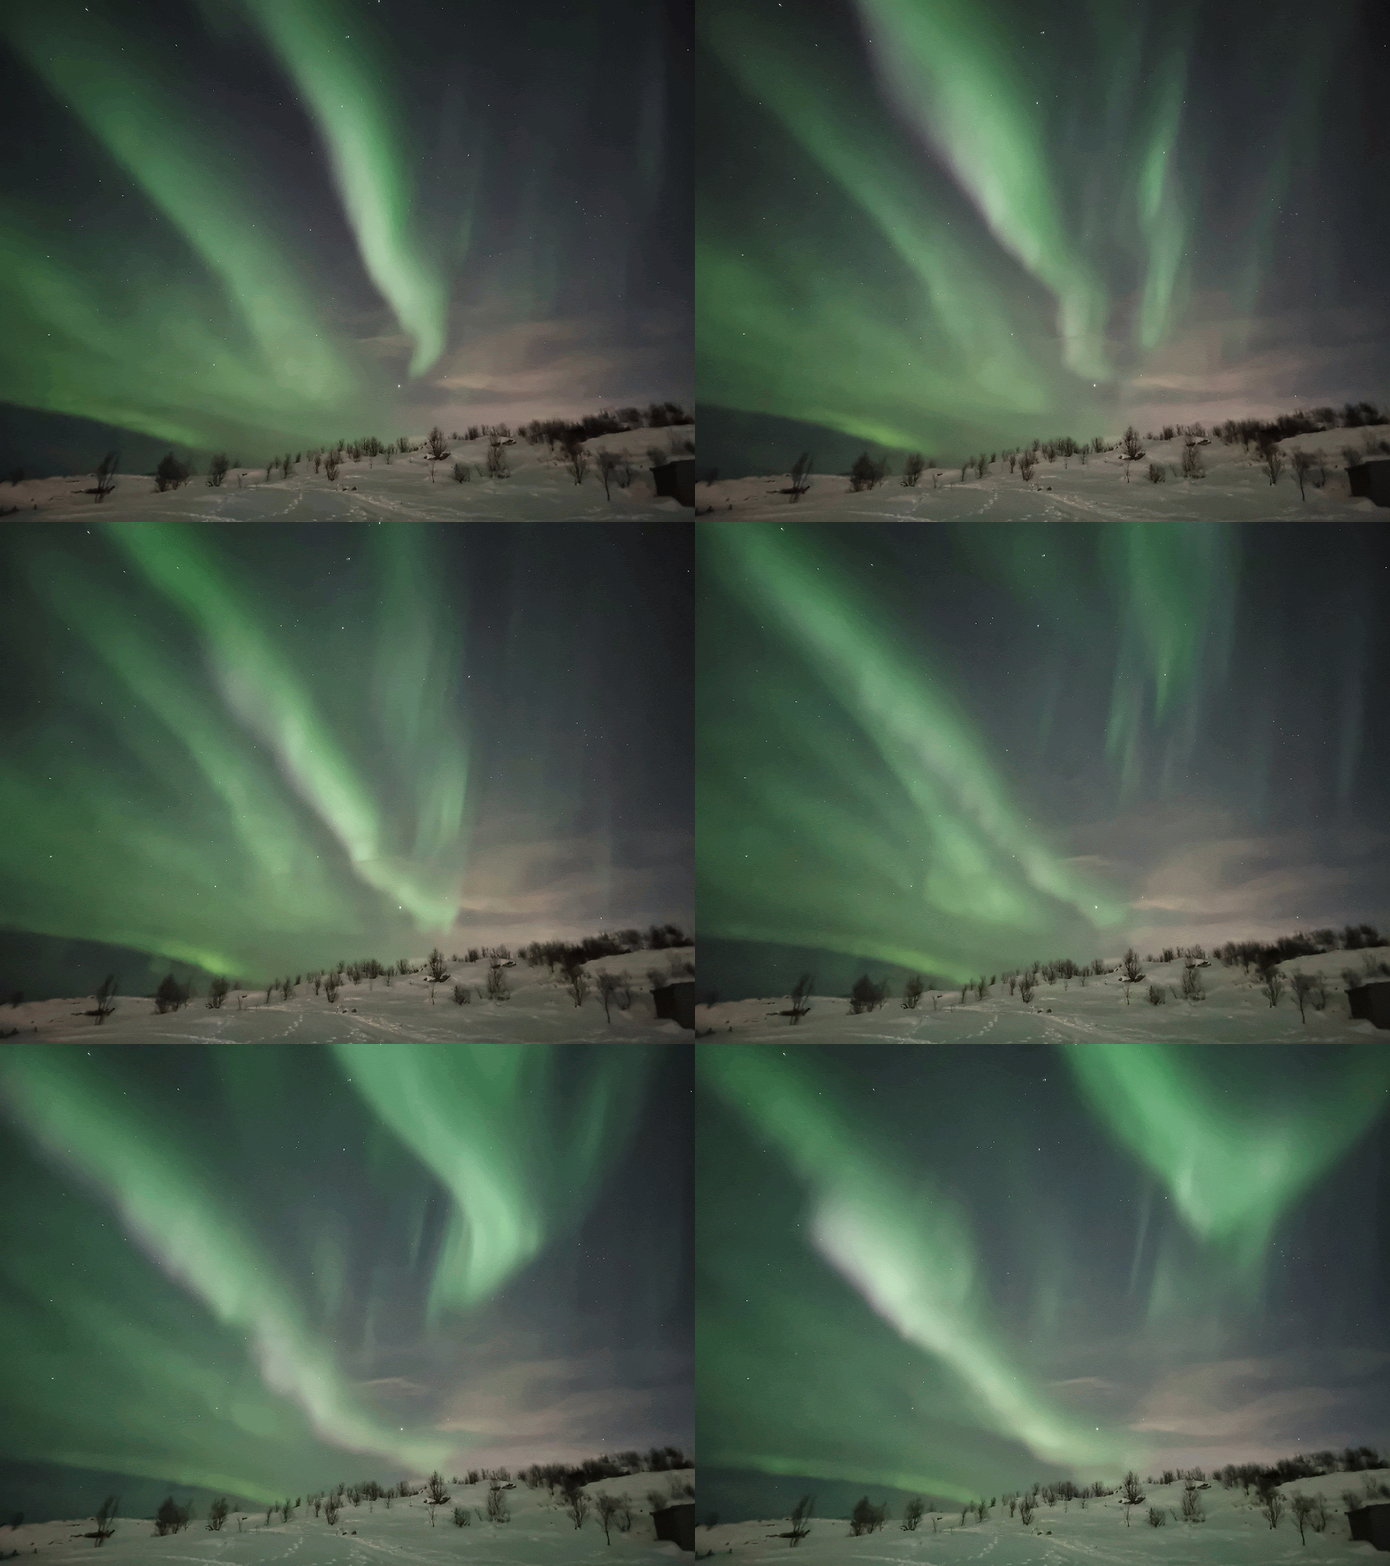
I did not try to make a movie with my phone, as I somewhat assumed it would not work. Exposure of pictures was between 4 and 7 seconds. Now I regret a bit that I didn’t try at least. Now, while my phone was on our Tripod I took some pictures in a row with our remote control. When I uploaded my pictures to the cloud the applicatoin proposed to create an animated gif from a series of pictures. You can see it below, it gives an indication of how the Northern Lights were dancing. Obviously it’s not as good as in reality, but it does give some impression.
Tips and tricks
Layers, layers, layers! That is the crucial tip to stay warm. Several people underestimated this and were forced to go back to the bus after some time outside. The problem with this is that the Northern Light is unpredictable. It might come and go. So you want to be outside at the right moment. When you are in the bus where there is light and you go back outside, your eyes need some time to adjust to the dark, and you don’t spot the Northern Lights that easy.
With the right outfit we could stay outside for several hours. Marie-Claire was happy to have her heated socks and gloves but even if you don’t have these, I can recommend some heating pads. You can put them also in your socks and your feet stay warm for several hours. Free tip, I use this as well while biking in winter with temperature close to 0.
As you leave at 18:00 and you are back around or even after midnight you might want to think about some snack. In our bus there were some cookies and coffee, but I was happy we brought some more solid food.
You can read it in the pictures section as well, but a Tripod is a must! With an exposure of 4 to 7 seconds you can’t take pictures while keeping your phone in your hands. You can be inventive and using your backpack, a tree or a trash bin, but the Tripod you can just put anywhere. The extra advantage is that it comes with a bluetooth remote control! I could just keep my gloves on and push a button from distance to take some pictures. It also was very easy to pose for our pictures without the need to ask for help.
Pictures
This Post Has 6 Comments
Leave a Reply Cancel reply
This site uses Akismet to reduce spam. Learn how your comment data is processed.
Beautiful pictures! The Nothern Light stay’s in the memory forever indeed.
Thanks for your comment Filip!
Prachtige beeldanimatie van het noorderlicht!
Dag Dirk,
Bedankt voor je berichtje. De animatie is een feature van Google Photo’s die een reeks foto’s aan mekaar gezet heeft. Vind hem ook leuk.
Groeten,
Sporty Travellers
Met een beetje vertraging … eindelijk es kunnen kijken … PRACHTIG!! Doe zo verder zou ik zeggen, grtzz Tania
Hallo Tania,
Dank je wel voor je bericht. Blij te horen dat de foto’s geapprecieerd worden 🙂
Groetjes,
Sporty Travellers